Engineering Cat Highways: Load-Bearing Design Guide
By Sofia Petrovic • 23rd Mar
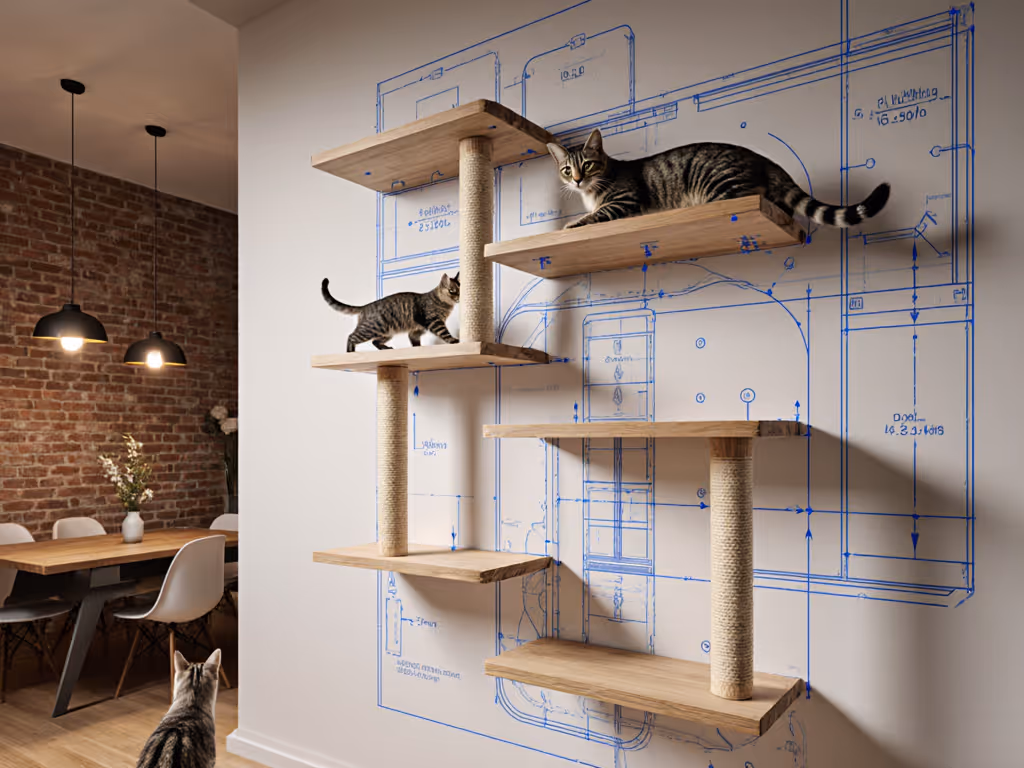
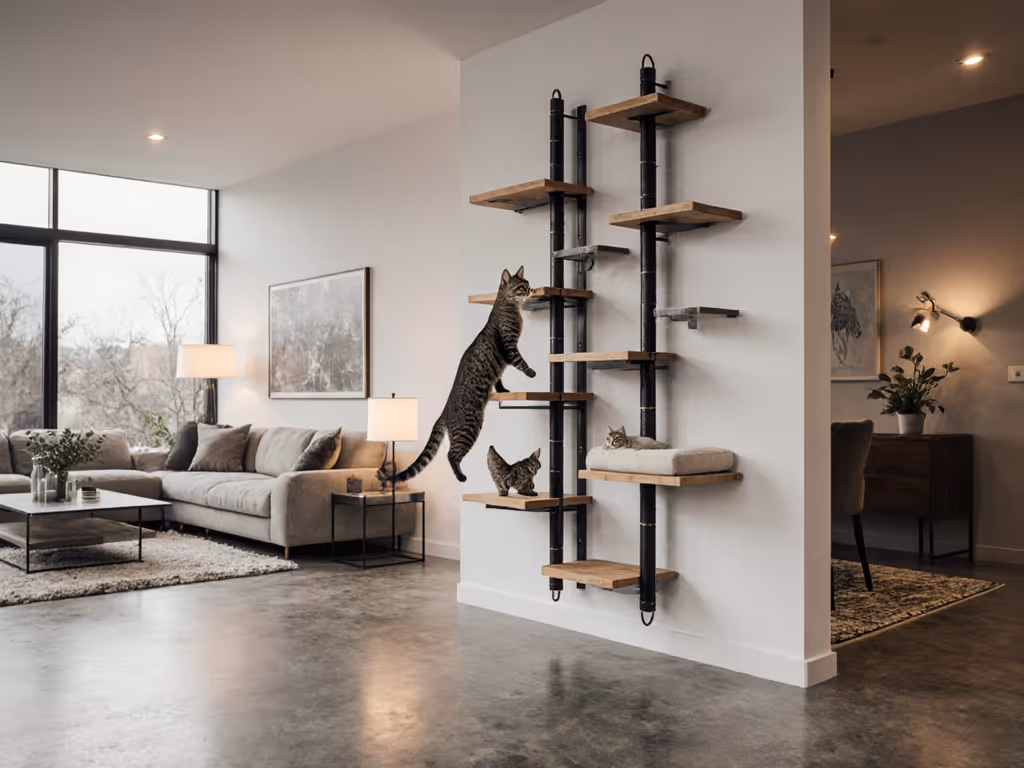
A well-designed cat highway system shouldn't be an afterthought tucked into corners, it's an architectural decision that transforms how your cat moves through your home while honoring your space's aesthetic. Integrated cat pathways that work with your layout, not against it, require understanding the structural reality beneath the charm: load calculations, material science, and strategic planning that rivals any built-in bookcase.
Understanding the Structural Foundation
Your load-bearing cat routes must support dynamic forces, not just static weight. When a cat lands on a shelf from a 3-foot jump, it generates impact forces that can triple their body weight. This is why a 10-pound cat demands shelving rated for 40-55 pounds per platform; the math isn't pessimistic, it's protective.
For wall-mounted components, you're working within two anchoring scenarios: structural studs (typically 16 inches apart) or non-stud walls requiring toggle screws or masonry anchors. L-brackets or floating shelf supports rated for 50+ pounds provide the rigid backbone; anything rated lower is a false economy that invites replacement rather than longevity. For anchoring standards, load verification, and tip-over testing, consult our cat furniture safety guide.
Step 1: Map Your Route Before Any Drilling
Start on paper (literally). Sketch your home's floor plan and identify natural launch points (lower furniture, windowsills) and high destinations (sunny windowsills for bird watching, quiet corners for rest). Use painter's tape to mock up your full-scale pathway on the wall. Walk your cat's favorite toy along the tape route; genuine interest signals a design worth building. For multi-room continuity and conflict-free routing, see our whole-home cat highway planning guide.
Think in loops or circular patterns rather than dead ends. Cats moving through your home shouldn't face awkward turns on narrow ledges; instead, they navigate a circuit. In smaller spaces, a zigzag pattern maximizes vertical coverage without consuming floor real estate. This routing approach also prevents traffic jams in multi-cat homes and provides escape routes (essential for safety and behavior regulation).
Step 2: Calculate Shelf Spacing and Dimension
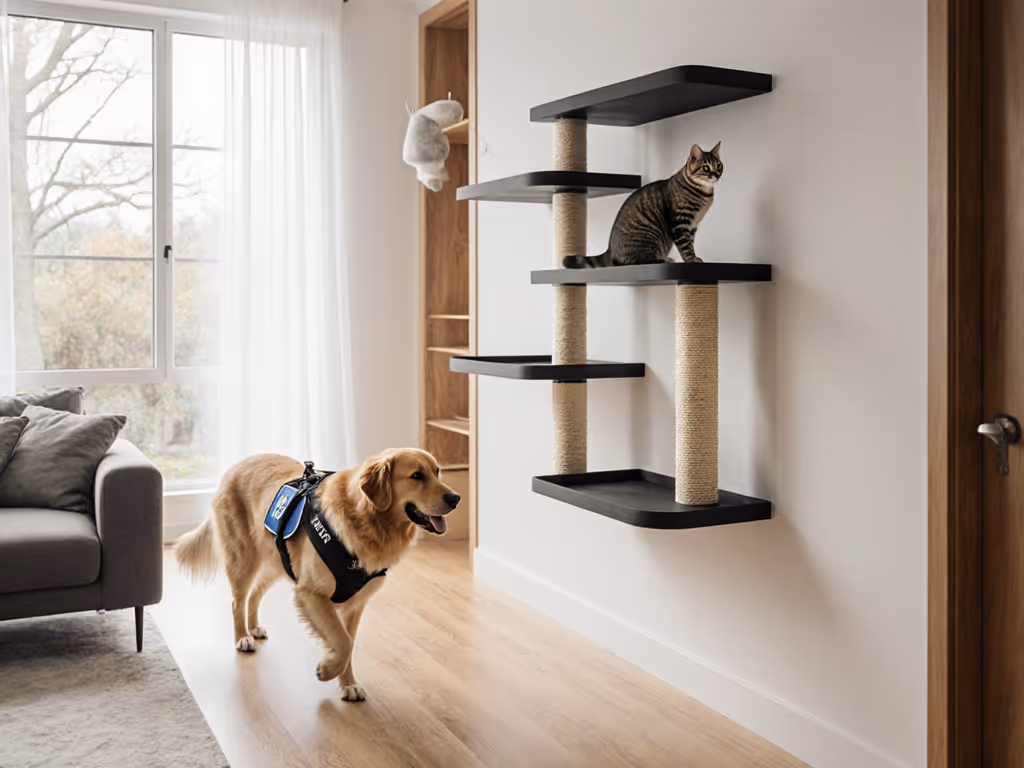
Vertical waypoints should sit 12-18 inches apart. This matches the comfortable stride and hop of most domestic cats; anything wider risks missed jumps and anxiety, anything tighter becomes unused deadweight. The spacing mimics natural tree branches, a principle that matters far more than it might seem. Your cat's climbing confidence directly shapes whether they'll use the system consistently.
For platform depth, aim for 20-28 centimeters (8-11 inches) for average cats and 30-35 centimeters (12-14 inches) for larger breeds. This allows sitting, grooming, and pivoting without overhanging that creates instability. Walkway width should be 20-25 centimeters (8-10 inches); bridges connecting gaps work best at 18-22 centimeters with 5-10 centimeter side rails.
Clearance matters as much as the platforms themselves. Maintain 18-24 inches below your ceiling to prevent head bumps and allow smooth upward navigation. When you change direction (say, shifting from one wall to an adjacent one), stagger shelves by at least 10 inches to accommodate the turning radius of a moving cat.
Step 3: Choose Materials for Durability and Cleaning
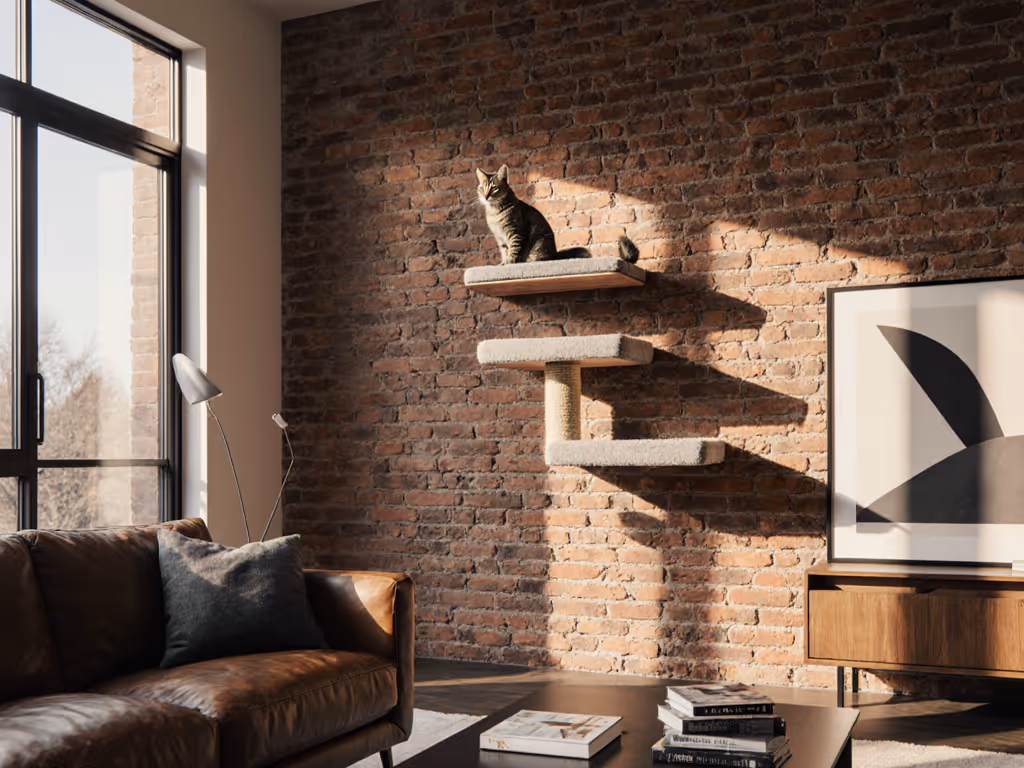
This is where durability meets joy. Seamless home cat design isn't about hiding the system, it's about choosing materials that age well and integrate visually.
For traction surfaces, carpet tiles, cork slabs, EVA foam, or sisal rope wraps prevent slipping. Self-adhesive carpet squares simplify maintenance: when one soils, peel and replace rather than discarding an entire tree. Cork and EVA foam wipe clean and resist odors better than fabric. Sisal, a natural fiber that cats naturally gravitate toward for scratching, serves double duty: enrichment and grip.
Selecting reclaimed or FSC-certified wood for shelves embeds sustainability into the structure itself. A maple shelf salvaged from a renovation (like the stepping system I built years ago from a neighbor's discarded flooring) accepts stain or low-VOC finishes that deepen over time. That modular design, reconfigured twice across two apartments, outlasted three commercial cat trees at a fraction of the environmental cost. Durability is the truest form of sustainability.
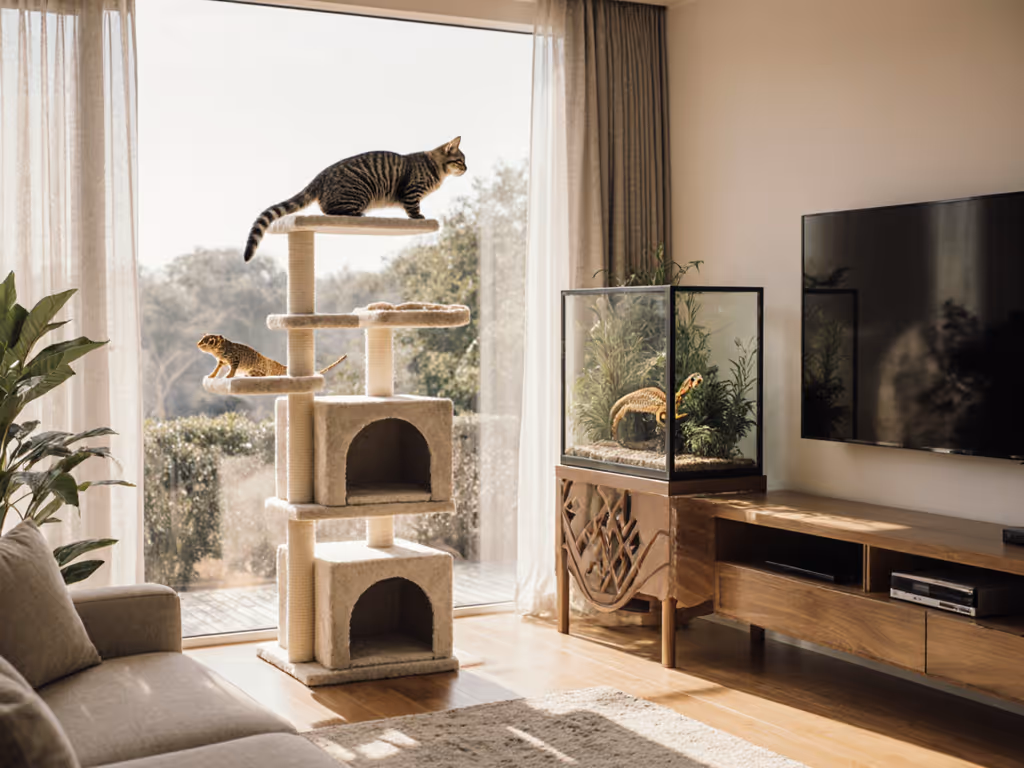
Use structural screws into studs for permanent installations; they resist shearing better than standard wood screws. For renters or those who prize adaptability, tension pole systems offer no-drill anchoring that converts a room into a three-dimensional cat landscape without a single hole in drywall. For a step-by-step build, try our tension-rod DIY system that avoids wall damage.
Step 4: Installation - Bottom to Top, Test as You Go
Locate and mark wall studs with a stud finder; drill test holes to confirm solid wood before committing to shelf placement. Prepare all shelves and drill mounting holes before hanging anything. Install the lowest shelf first using two brackets per shelf to ensure perfect level. Wobble is the enemy of trust; a slightly uneven platform erodes your cat's confidence immediately.
Build upward from there, testing each new shelf with 7-9 kilograms (15-20 pounds) of weight before introducing your cat. This isn't overkill, it's verification that your anchoring will perform under real-world impact. Add bridges, tunnels, and ramps after the core structure is solid and tested.
For bridges spanning gaps, lattice or mesh with rails works well, but limit spans to 90-100 centimeters; longer spans need center supports to prevent sagging. For detailed span limits, connection hardware, and rail specs, use our stable cat bridge design guide. Ramps are essential for accessibility, especially for senior or post-surgical cats, keep slopes under 30 degrees with cross cleats every 4-5 inches for grip.
Step 5: Design for Your Cat's Life Stage and Multi-Cat Dynamics
Kittens benefit from small gaps, side rails, and soft landing pads that forgive their clumsy pounces. Senior cats thrive with ramps, plush pads, and lower peak heights that spare arthritic joints. For larger cats, deepen shelves and upgrade bracket ratings further.
In multi-cat homes, loops and yield platforms prevent territorial conflicts; segregated resources (separate perches, exits, and rest zones) reduce stress-driven aggression. A window cat shelf positioned as a shared resource works better when approached from multiple angles, letting each cat claim space without monopolizing the route.
Step 6: Introduce and Supervise Initial Use
Once your route is complete and structurally verified, introduce your cat with treats and play. For hesitant felines, follow our stress-free introduction steps to build confidence and reduce stress. Patience during this phase pays dividends in long-term adoption. Some cats immediately recognize the highway; others need encouragement. Rubbing catnip on shelves, positioning toys on platforms, or simply spending time near the structure builds curiosity.
Supervise the first uses to spot any missed design assumptions, a shelf that looked comfortable in isolation might not suit your cat's jumping style, or a bridge might need rail adjustment for confidence. Refinements made early prevent disuse later.
Step 7: Maintenance and Adaptive Evolution
Scratchers integrated into the highway (sisal wraps, carpet edges, or dedicated scratch panels) channel natural behavior onto appropriate surfaces. Clean modular traction surfaces regularly; replaceable components mean your system adapts as your cat ages or as your space changes.
Buy once, cry never applies directly to architectural cat integration: a system engineered for longevity, repairability, and reconfiguration outlasts trends and your cat's evolving needs.
Moving Forward
A load-bearing cat route is less about perfection and more about intention. The calculation, the material choice, the careful spacing, these details transform a cluster of wall-mounted shelves into a landscape where your cat thrives naturally. Your home becomes richer, not cramped, and your cat's well-being becomes visible in every confident leap.
Related Articles