Unique Cat Furniture For Textured Accent Walls
By Nikhil Bhatt • 21st May
When you start looking for unique cat furniture that respects a carefully curated feature wall, it's easy to feel stuck: most towers are bulky, beige, and better suited to a basement than a design-forward living room. Yet your cat still needs vertical territory, scratching outlets, and safe perches. This is where thoughtful accent wall cat integration comes in, turning brick, stone, or 3D panels into a calm, climbable landscape instead of a no-go zone.
Below is a deep-dive FAQ to help you pair textured accent walls with cat-safe, aesthetically coherent furniture, without creating visual clutter or risky jumps.
FAQ: Designing Unique Cat Furniture For Textured Accent Walls
1. Can I safely mount cat furniture on brick, stone, or 3D wall panels?
Yes, but only if you match the mounting method to the wall type and your cat's weight and habits. For a clear breakdown of options and stability trade-offs, see our drill-free vs drilled shelves.
Step 1: Identify the wall structure
- Solid brick or stone (full-thickness masonry): usually strong enough if you use masonry anchors and spread the load.
- Veneer brick/stone over drywall: common in modern homes and condos; the veneer itself is thin and brittle. You must anchor through to studs or solid backing, not just the decorative layer.
- 3D wall panels (foam, MDF, PVC, gypsum): these are surface treatments, not structure. You will likely need to locate studs behind them or use a separate rail system.
Step 2: Choose the right mounting strategy
For brick wall mounting solutions and genuine stone:
- Use masonry screws or sleeve anchors rated well above the combined weight of your cat and the furniture.
- Favor long, continuous mounting rails (wood or metal) fixed in multiple locations. Then attach shelves or steps to the rail. This spreads the load instead of stressing one or two bricks.
- If possible, drill into mortar joints rather than brick faces (easier to repair visually later).
For veneers and 3D panels (true non-standard wall integration):
- Locate studs with a reliable stud finder, then pre-drill through the veneer/panel into the stud.
- Use lag screws or heavy-duty wood screws into studs; hollow-wall anchors alone are not sufficient for climbing loads.
- Where studs don't line up with your ideal layout, consider a decorative mounting board (e.g., painted or stained wood plank) secured to studs in multiple places. Attach your cat furniture to the board instead of directly to the wall finish.
If any of this feels uncertain, a local handyman or contractor can confirm anchor choice in a short visit. It's a small investment compared with the cost of a fall.
When in doubt, overbuild the mounting. A beautiful layout is meaningless if it isn't structurally calm and reliable.
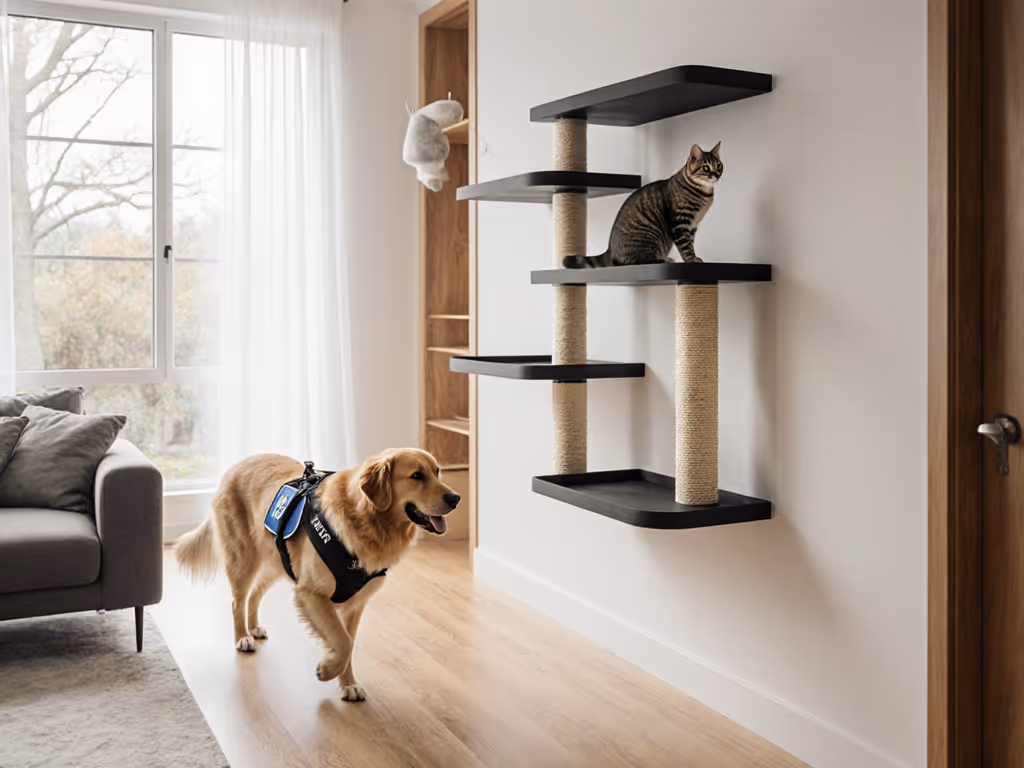
2. What types of unique cat furniture work best on textured walls?
Textured accent walls give you depth, pattern, and shadow. Good cat furniture should echo those lines instead of fighting them. For side-by-side aesthetics and install notes, explore our modern cat shelf comparison.
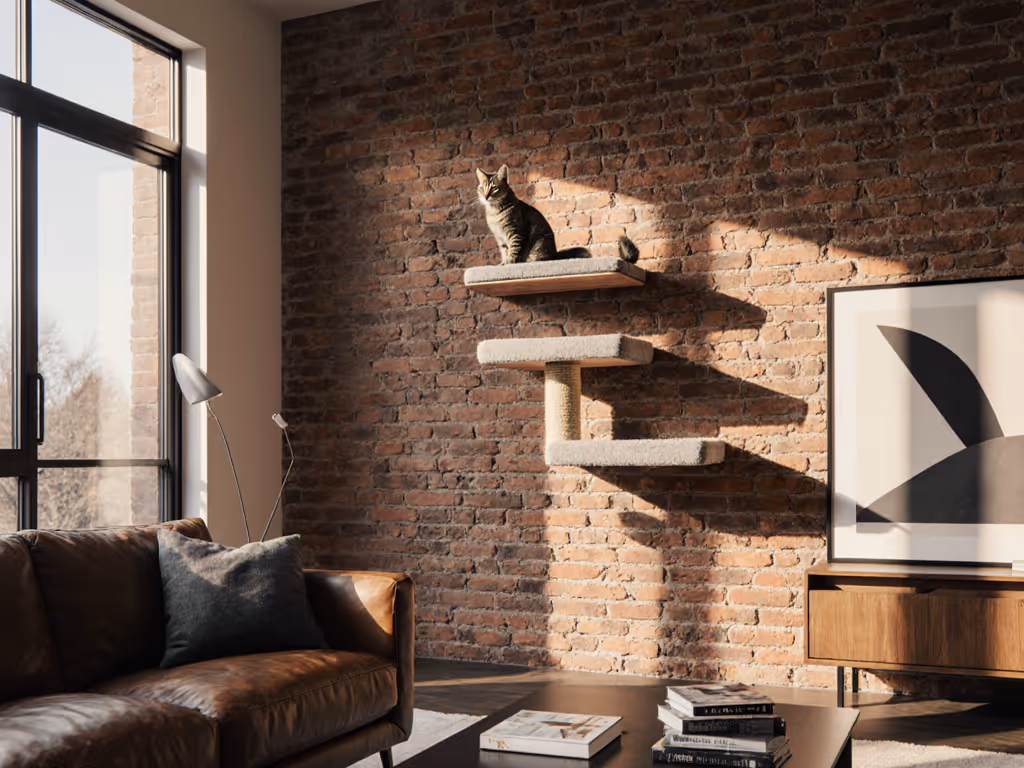
Options that pair well with brick and stone:
- Slim floating shelves: Wood or metal bases with felt or cork tops blend beautifully against brick. Choose lengths that align with mortar lines or stone courses so the geometry feels intentional.
- Stone surface cat pathways: Think of a staggered path of shelves that traces the natural breaks in your stone wall, with each shelf deep enough (25-30 cm / 10-12 in) for a full body crouch.
- Low-profile ramps: Narrow ramps (18-25° slope) with textured fabric or rubber for traction can connect a low cabinet to a mid-height shelf, reducing jump distances.
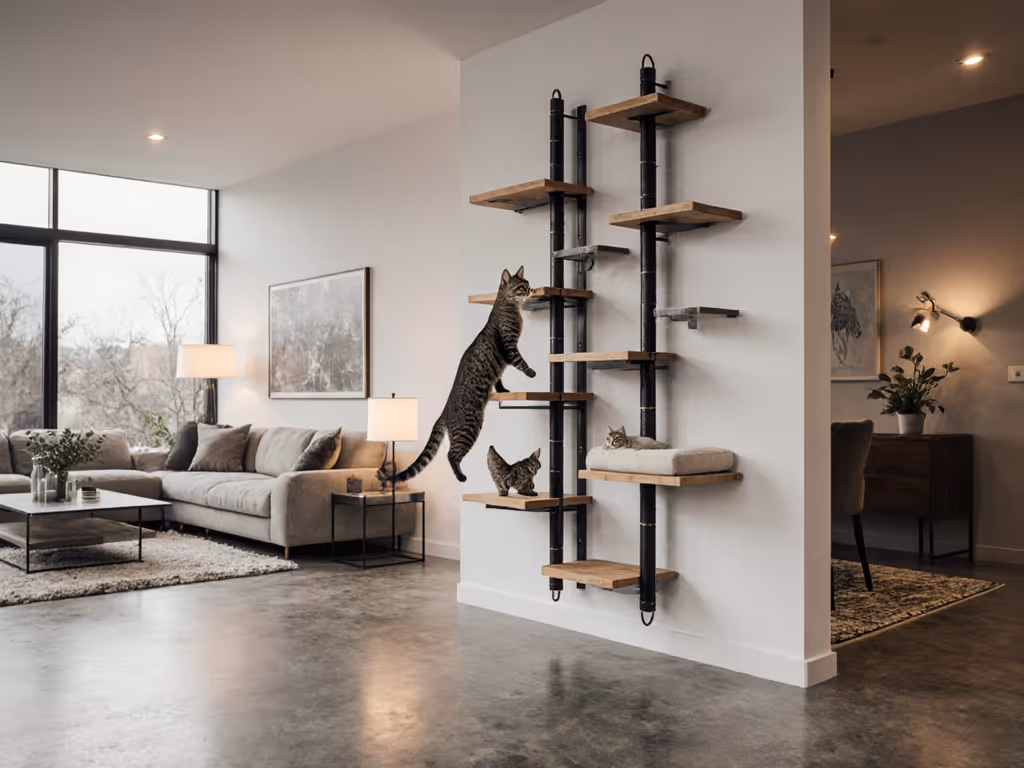
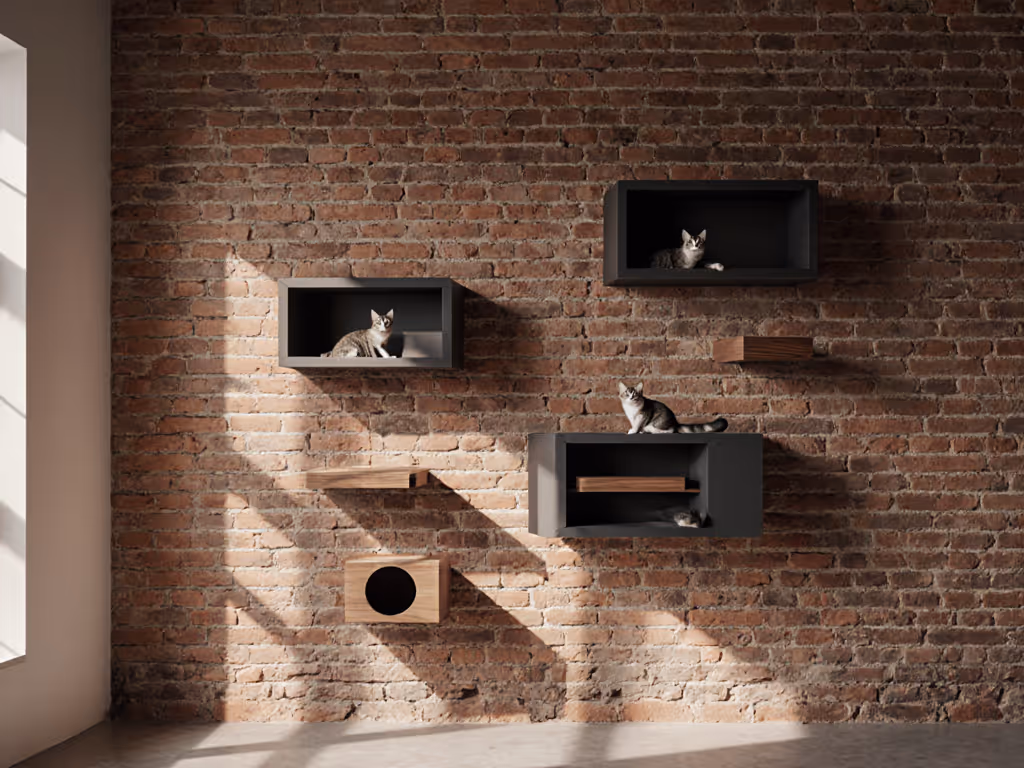
For 3D panels and sculptural walls:
- 3D panel climbing systems: Systems that use rails or tracks over the panels let you adjust shelf positions without repeatedly drilling. Choose finishes that repeat the panel color or contrast it in a controlled way (e.g., pale oak on white fluted panels).
- Cable- or ceiling-supported perches: If the wall isn't strong, drop slim platforms from the ceiling with discrete cables, keeping them just in front of the textured surface.
Across all wall types, look for:
- Textured, non-slip surfaces (felt, rubber, cork) where paws land.
- Rounded edges to avoid sharp impact if a jump is misjudged.
- Open undersides where possible, to keep the wall's texture visually present and prevent bulk.
3. How do I plan a layout that's safe and ergonomic for my cat?
Start by watching how your cat moves now. Are they a powerful jumper, a cautious climber, a senior who hesitates? Design for their future body, not just today's energy.
Practical spacing guidelines (for most cats):
- Vertical gaps between levels:
- Kittens, seniors, heavier cats: 20-30 cm (8-12 in)
- Adult agile cats: up to 35-40 cm (14-16 in)
- Shelf depth: 25-30 cm (10-12 in) for regular perches; 35-40 cm (14-16 in) for lounging spots.
- Ramp slope: ideally 18-25°. Steeper than ~30° feels like a climb, not a walk.
Plan both ascent and descent paths: For conflict-free layouts and vertical zoning, see our multi-cat territory guide.
- Avoid "dead ends" where a cat can jump up but has no comfortable way down.
- Provide at least two routes between floor and primary perch, especially in multi-cat homes to reduce confrontations.
- Keep the highest perch within 45-55 cm (18-22 in) of a secondary landing or nearby furniture, not directly above a hard floor.
Comfort is design: gentle grades, predictable paths, minimal friction.
In my own living room, a few small changes (lowering a couple of perches, swapping one big leap for two short ramps, warming a corner shelf) completely changed how my older cat used the space. She stopped avoiding "the high route" and reclaimed her favorite sun patch. That's the spirit you're aiming for: Design for tomorrow's body.
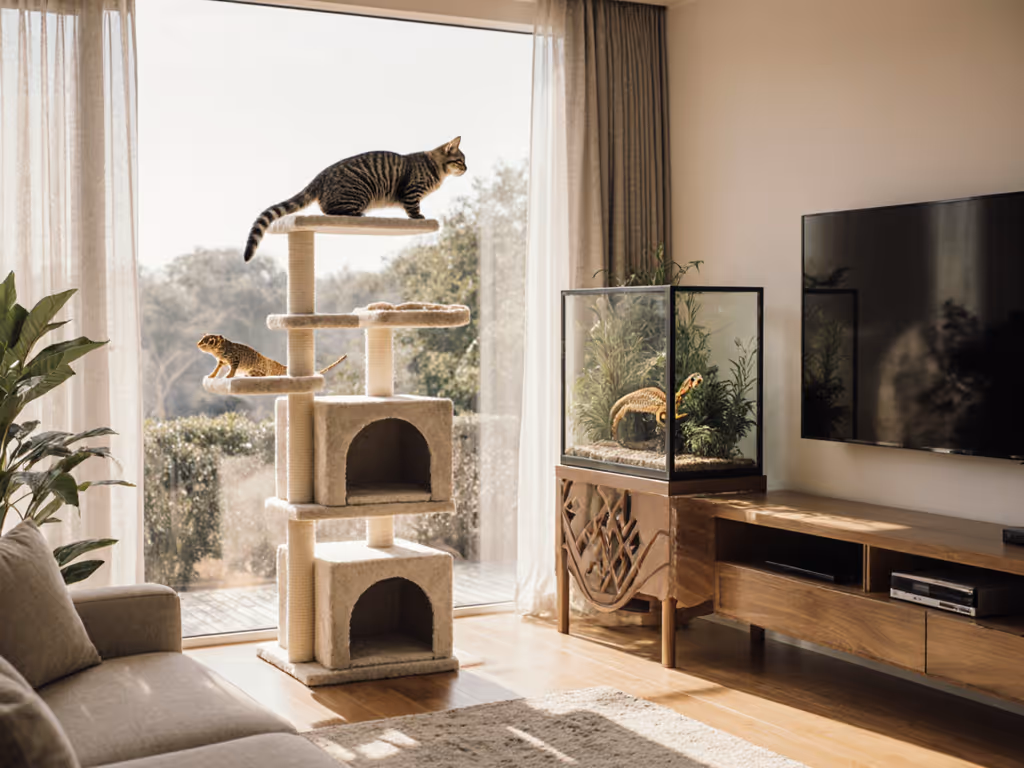
4. What if I rent and can't drill into my accent wall?
You still have options for distinctive, vertical enrichment. Renters can build sturdy routes with tension-rod, no-drill systems.
Consider these no- or low-drill solutions:
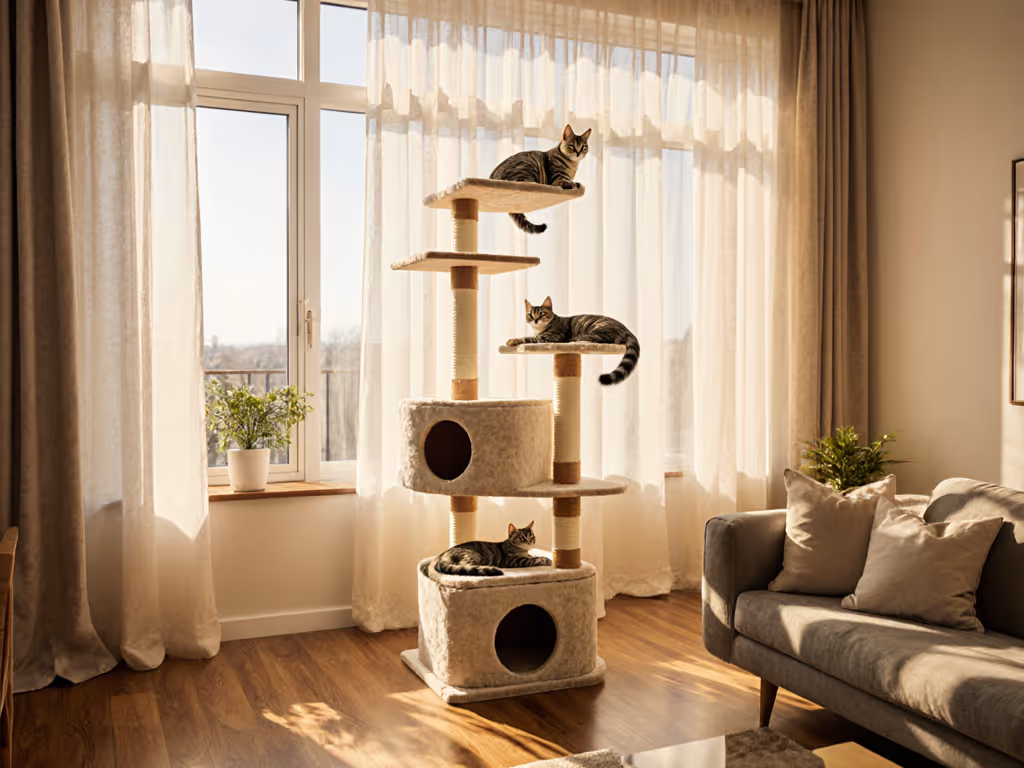
- Floor-to-ceiling compression posts: These can stand just in front of the brick/stone, with branches, shelves, or hammock arms extending toward the wall without attaching to it.
- Freestanding "ladder" units: Leaning structures that rest lightly against the textured wall distribute weight to the floor. Add non-slip pads where they touch the wall to prevent marks.
- Furniture-to-wall bridging: Use existing furniture (a sideboard, media console, or bookcase) as the base and add clip-on or free-standing ramps and shelves above it.
- Over-door systems: For accent walls that include a doorway, over-door shelves and bridges can create a route around the room with minimal hardware.
Even if you must avoid the accent wall entirely, you can place cat routes adjacent to it so your cat still shares that visual territory without direct attachment.
5. How do I protect my beautiful wall from scratches, oils, and hair?
Cats tend to rub cheeks and shoulders against edges and sometimes launch from the wall itself.
To preserve the surface:
- Add sacrificial landing zones: Mount narrow, washable runners or panels (wood, MDF, or clear polycarbonate) where paws or shoulders most often contact the wall.
- Use washable shelf covers: tightly fitted, non-slip fabrics that can be removed and laundered; they catch hair and dander before it reaches the brick or panels.
- Choose durable paint or sealant on textured surfaces near routes. A slightly more scrub-resistant finish on the lower 1-1.5 m (3-5 ft) can make maintenance much easier.
- Orient shelves so your cat launches from the shelf surface, not the wall face, give them a clear edge.
A quick weekly wipe of shelf tops and touch points with a pet-safe cleaner keeps both your cat and wall looking cared for. For material-specific care (sisal, wood, carpet) use our cat furniture cleaning guide.
6. How do I keep the wall from looking cluttered once I add cat furniture?
The key is to treat the cat route like part of the original design plan, not an afterthought.
Unify with repetition:
- Match wood tone or metal finish of cat furniture to existing trim, beams, or furniture legs.
- Align shelves with existing visual lines: mortar courses, panel grooves, or window tops.
- Use a limited color palette: one main tone plus one accent, rather than a patchwork of fabrics.
Preserve negative space:
- Concentrate perches along one vertical lane rather than scattering pieces across the whole wall.
- Leave some areas of the accent wall completely untouched so the original texture can "breathe."
When done thoughtfully, visitors often see "a beautifully layered wall" first, and only later realize it doubles as your cat's highway.
7. Will textured walls make cat activity louder? How do I keep things quiet?
Hard, irregular surfaces like brick and stone can amplify little thumps and scrapes. To keep the space soothing, focus on sound-dampening materials and tight, rattle-free construction.
- Choose shelf tops with felt, cork, or rubber rather than bare wood or metal.
- Add soft bumpers between brackets and the wall (thin cork washers are useful) to prevent vibration.
- Avoid loose hardware; torque screws firmly and recheck a week after installation as materials settle.
- Skip jangly accessories like dangling metal toys near the wall, many cats and humans find persistent noise stressful.
A small amount of padding in the right places often makes the difference between "constant clatter" and "barely-there footfalls."
8. How can I adapt an accent wall setup for seniors, kittens, or multiple cats?
Different bodies need different routes, and the beauty of wall-based furniture is how modular it can be.
For seniors or mobility-challenged cats:
- Prioritize ramps and close-spaced steps over big jumps.
- Keep key resources (favorite perch, water, a soft bed) reachable with no single step higher than 20-25 cm (8-10 in).
- Use high-traction surfaces everywhere; older cats are more anxious about slipping.
For kittens and high-energy adults:
- Offer varied heights with some safe, moderate climbs instead of just one very high perch.
- Include horizontal movement along the wall (bridges or sideways steps), not only vertical.
For multi-cat households:
- Provide at least two main routes up and down so one cat can't easily block another.
- Create multiple "endpoints" (different top perches) rather than a single "throne." This reduces competition and, as behavior research has shown, can ease tension in multi-cat homes.
Think of the wall as a small, layered landscape; each cat should be able to move predictably without confrontations or forced heroics.
9. What's a realistic budget and timeline for accent wall cat integration?
It varies widely, but you can plan in tiers:
- Entry-level DIY (≈ $100-$300): a short path of 3-5 shelves or steps, a ramp from an existing cabinet, and some traction materials. One weekend of measuring, drilling, and testing.
- Mid-range modular (≈ $300-$800): more elaborate routes with multiple levels, integrated scratchers, and perhaps a ceiling-adjacent perch, installed over 2-3 weekends.
- Custom or carpenter-built (≈ $800+): fully integrated solutions around a fireplace, TV wall, or full-height brick facade. Timeline: a couple of planning sessions plus installation days.
Because textured surfaces and structural anchoring are less forgiving than plain drywall, it pays to plan carefully on paper before you buy anything. Mistakes are harder to patch invisibly.
Actionable Next Step: Sketch, Mock, Then Mount
Before you start shopping for unique cat furniture, do three simple things:
- Take a straight-on photo of your accent wall and print it or load it into a simple drawing app.
- Sketch a route from floor to your desired "top perch," using conservative spacing, no jump larger than your cat's current comfort zone.
- Mock it in real space with painter's tape on the wall and a few stacked boxes or stools where shelves might go. Watch how your cat explores the temporary layout for a day.
Once the route feels natural and your cat is curious but not stressed, you're ready to commit to materials and mounting. Build slowly, observe, and adjust. Your goal isn't a showpiece your cat never uses. It's a quiet, predictable pathway that lets them share your favorite wall in comfort.
Design for tomorrow's body, and the wall becomes more than a backdrop. It becomes shared territory, beautiful to look at, and even better to live in together.
Related Articles